Exploring the Art of House Design with Revit
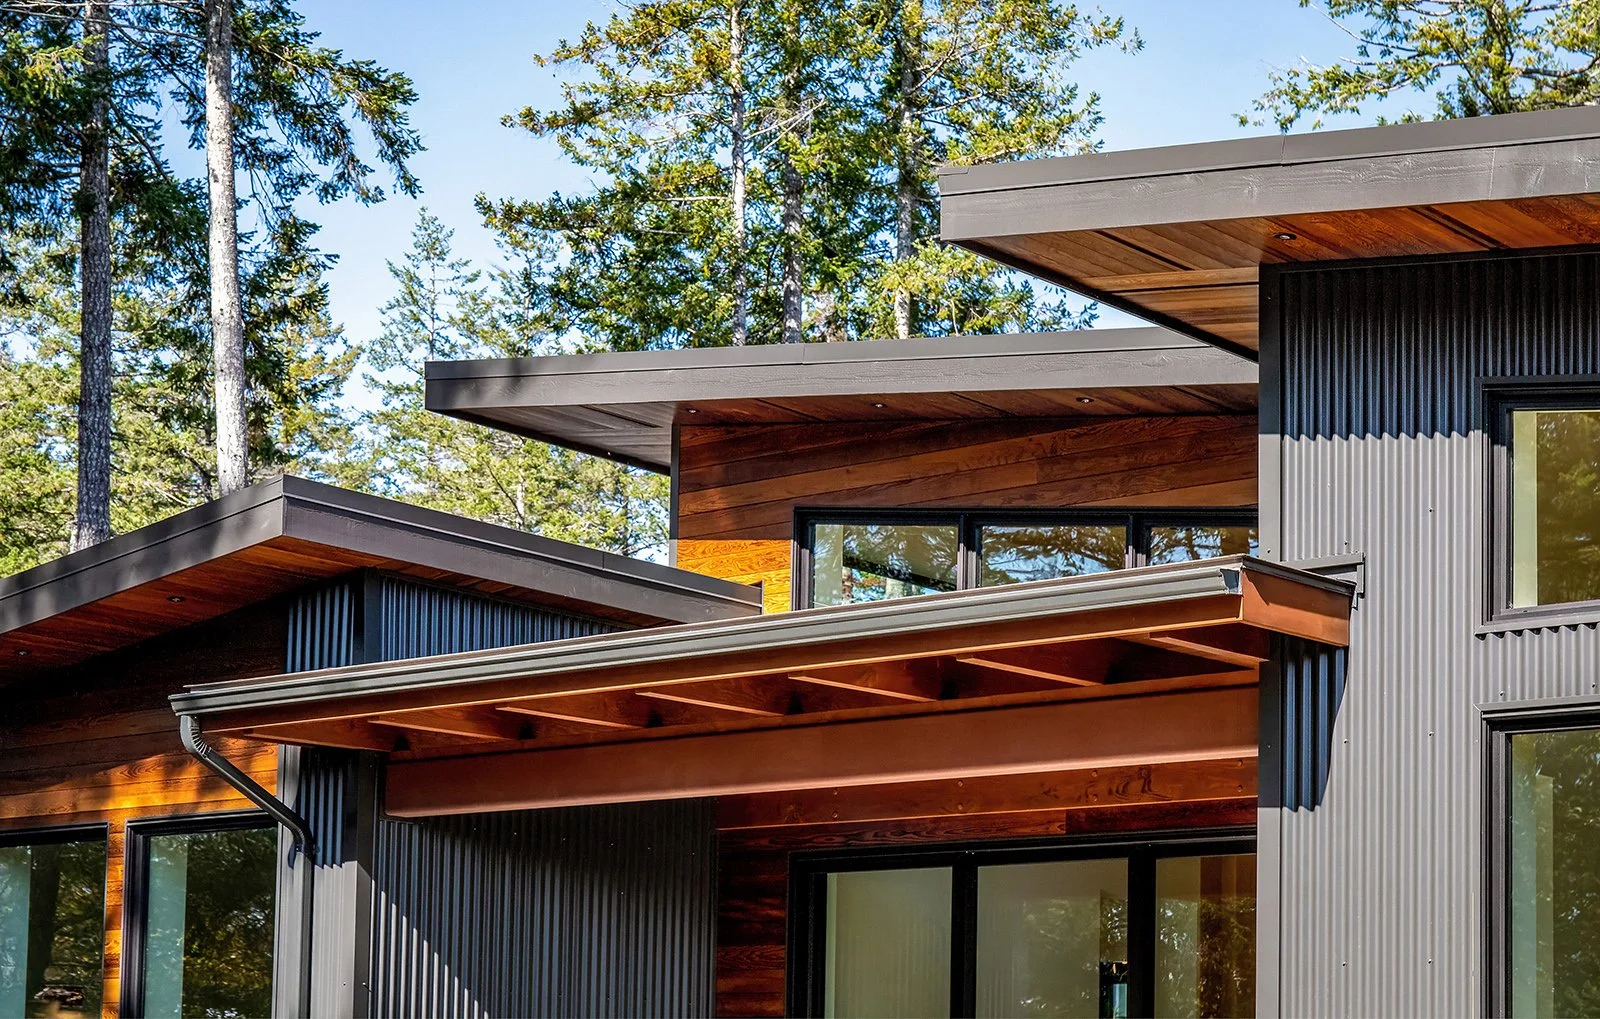
Photo courtesy of LSP Media
On the heels of hand drafting, Computer Aided Design (CAD) programs have been commercially available since the 1960s and have applications across many professions including aerospace and product manufacturing. Many refer to CAD in the construction industry instead as Building Information Modeling (BIM), and most often utilizes a fully 3-dimensional workspace. Drafting for construction and interior design purposes is efficient and convenient in 3D, not to mention accurate. This workflow allows quick manipulation of the elements in the design model, as well as allowing different views for client presentations.
While there are numerous BIM software options available, Modlux Interiors uses either Vectorworks, or Revit for each project we complete. Revit, developed by Autodesk, is widely adopted in the architecture, engineering & construction industry, particularly for large-scale projects, complex structures, and collaborative workflows. It is commonly used by architects, structural engineers, and MEP (mechanical, electrical, plumbing) professionals. Revit's interoperability with other Autodesk software, such as AutoCAD, Navisworks, and Dynamo, enhances its compatibility within the Autodesk ecosystem.
With its powerful features and intuitive interface, Revit provides a comprehensive platform for creating stunning and functional house designs. In this blog post, we will guide you through the process of drawing a house design in Revit, empowering you to unleash your creativity and bring your architectural visions to life.
Photo courtesy of Renae Laboe Photography
Step 1: Set Up Your Project
Before diving into the design process, it’s crucial to set up your project correctly in Revit. Start by defining the project location, units, and other relevant project settings. This groundwork will ensure accurate measurements and seamless integration with other elements of your design. Design firms, architects' offices, and other draftspersons will have specific company-wide graphic standards and create project templates to start each project from to ensure uniformity (and cut down on the labour to adjust each time).
Step 2: Create the Basic Layout and Form
Begin by selecting the wall tool and sketching the basic outline and structure of your house. Drafting plan layouts using 3D wall elements is efficient and accurate - it’s easy to create and edit wall types that account for and illustrate the thicknesses for each layer of the building assembly (for example: drywall, stud size, wall sheathing, drywall). Revit offers a range of pre-defined door and window families that you can choose from, or you can create custom ones to suit your specific requirements. Along with windows and doors, the roof is another defining element of any house design. In Revit, you can create roofs using various methods such as sketching, picking walls, or using massing tools. Experiment with different roof types, slopes, and styles to achieve the desired aesthetic. Revit's roof tools provide flexibility and precision, allowing you to fine-tune every detail of your design. Consider the functionality and flow of the spaces you are creating. Many designers work back and forth, revising exterior wall locations and roof designs until the design comes together and the curb appeal is working with the interior layout together in harmony.
Step 3: Fine-tune the Interior and Add Detailing
Now it's time to focus on the interior elements of your house design. Place furniture, fixtures, and equipment to give your design a realistic feel. The vast library of families and components makes it easy to populate your design with the necessary elements. Revit enables you to add intricate details, such as moldings, trim, and other decorative elements to create a true-to-life model. Materials can easily be “painted” onto individual elements, or groups of items.
Step 7: Generate Documentation
Revit is not only a design tool but also a powerful documentation platform. Take advantage of its capabilities to generate accurate and comprehensive construction documents. Create floor plans, elevations, sections, and schedules with ease. Revit's parametric nature ensures that any changes made to the design will be automatically updated throughout the project documentation.
For presentation visuals, Revit provides a built-in rendering engine. While it allows for quick and straightforward visualizations, the quality and realism may be limited compared to specialized visualization software. Modlux Interiors often utilizes Lumion as an external rendering software with greater realism.
Photo courtesy of LSP Media
Drawing a house design in Revit can be an exhilarating experience, unleashing your creativity and giving life to your architectural ideas. By following these steps, you can create stunning and functional house designs while harnessing the power and versatility of Revit. Remember to experiment, explore, and continuously refine your design until you achieve the desired outcome. With Revit as your ally, the possibilities are endless, and you can transform your architectural dreams into reality. Happy designing!


